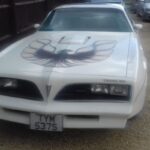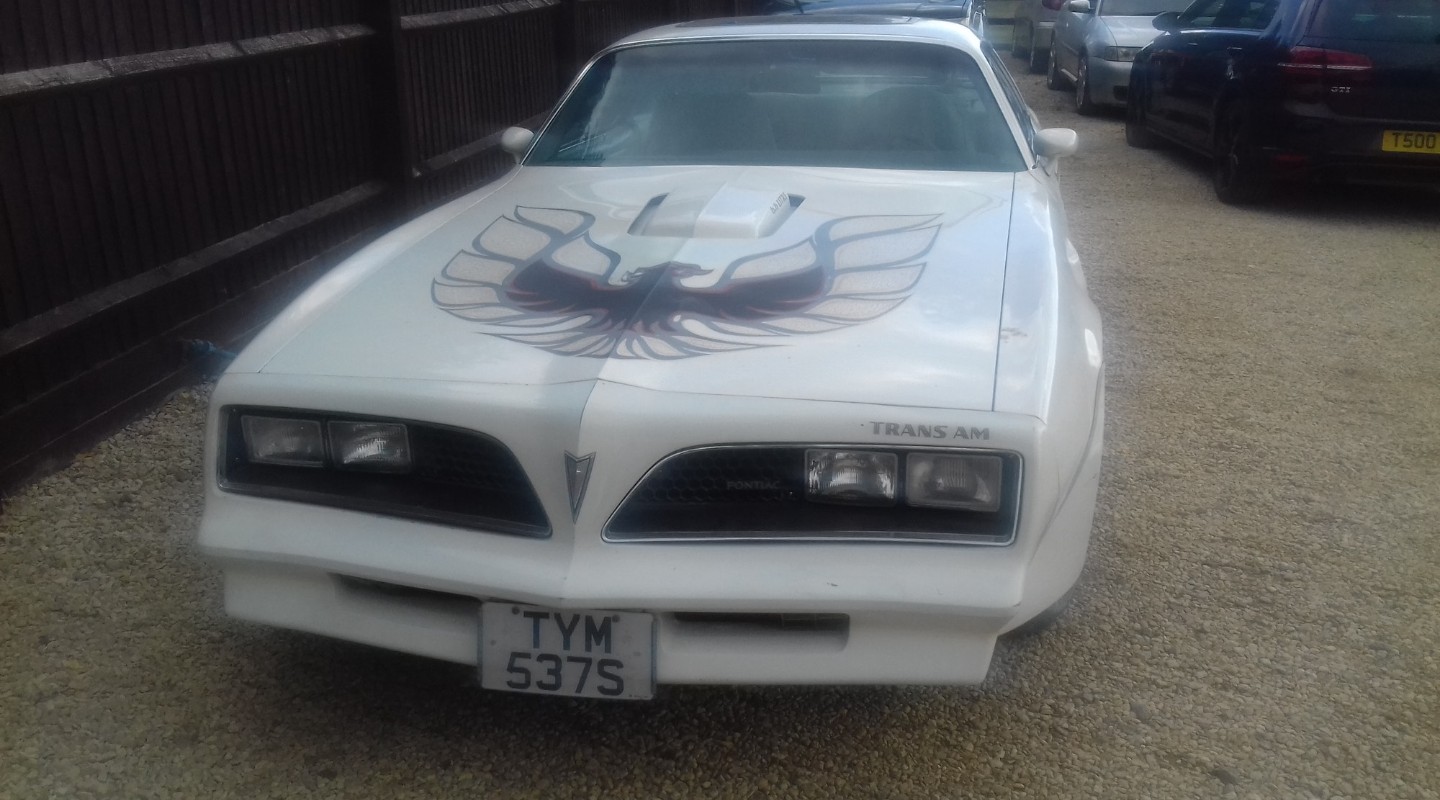
1977 Pontiac Trans-Am Body Repairs.
Significant lower body repairs are needed for this classic American machine, but on a very tight budget. Body repairs, welding and painting can quickly add up to significant sums.
We managed to significantly improve the car for around a quarter of the cost at a traditional body shop.
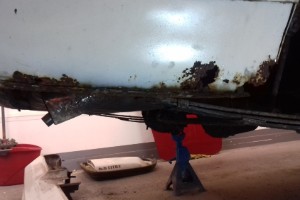
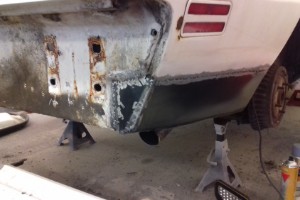
Lower rear right hand quarter.
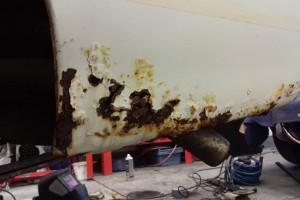
Once the car was on the lift and wheels off it was time to start cutting out the rust. No body filler/fibreglass repair, has to be fresh metal.
Make sure all the rust is out.
It's important to make significant cuts and not just around the rusty bubbles in the paint. Rust always extends further than you expect.
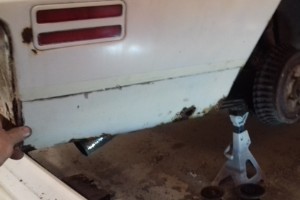
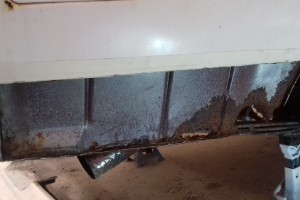
Always surprises lurking.
After removing the rust affected area lurking behind the outer panel there is more corrosion on the inner panel. Will need to repair this first. Need to do this so we have something to weld the outer panel to.
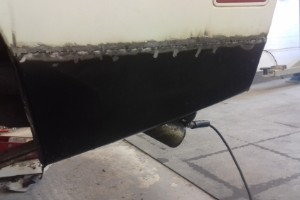
Fresh metal welded in.
The rust extended behind the rear bumper, this was also cut out and new metal welded in.
Repair panels all fabricated in-house.
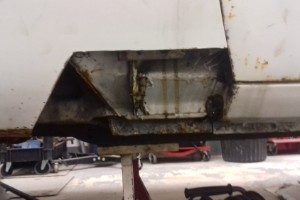
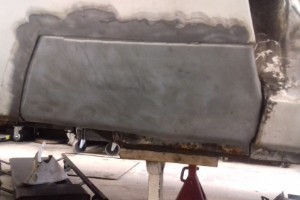
Rocker panel.
Moving along the car, the cill (or rocker, as the Americans say) badly corroded so another rusty part removed.
Repair panel fabricated.
The repair panel is fabricated and the edges joggled then positioned ready for welding in place.
After tacking in place welding is carried out in small areas moving from one side of the panel to the other so excessive heat does not warp the new panel or the original body panel.
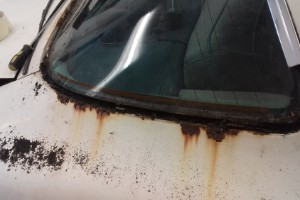
Rear screen.
After removing the rear chrome trim it was clear we needed to do some work here.
After cleaning up fortunately there were no holes so after treating with rust killer, lots of wire wheeling, more rust killer, plenty of etch primer paint and a skim of body filler we could prime the area ready for paint.
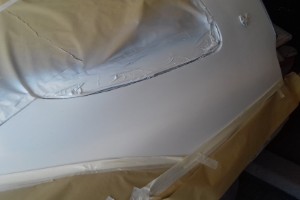
Masked and primed.
After masking off the area we could then put the white primer coat on before moving on to the next rusty area.
Rear LH lower quarter.
This area was in poorer condition than the drivers side. So out with the cutting disc again to cut out the rust, repair the inner panel make a new outer panel and weld in place.
Another panel repaired.
We did source some repair panels where we could. In this case we were able to cut a piece from the repair section to weld in so we had the right curvature and wheel arch lip.
Doors lower edge.
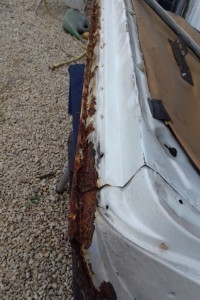
Unfortunately all of the lower panels were affected by rust, including the bottom of the doors.
The outside lower edge of the doors were also corroded with paint blistered the whole length of the dor.
Door repair.
To repair the lower edge of the door it was necessary to cut a strip from the door, fabricate a replacement new piece of metal and then weld back in.
Necessary on both the inside and outside of the doors lower edge.
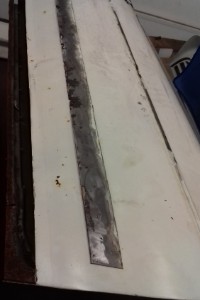
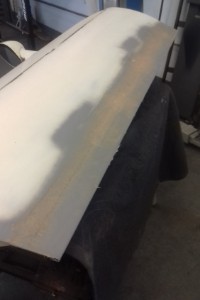
One door repaired.
As before after grinding the welding smooth, rust preventing etch primer is sprayed onto the bare metal and welds followed by a skim of body filler before final priming and finish painting.
Painting.
After finishing all of the welding, grinding, rust prevention, body filling over the welds, smoothing and final prime we are now ready for the final painting.
As we had a restricted budget a full body respray wasn't possible so just the lower part of the car was painted.
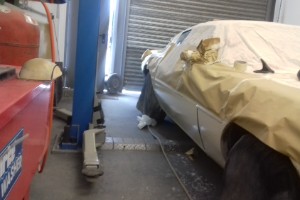
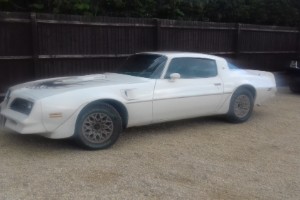
Painted and re-assembled.
After completing the painting the car need to be re-assembled. Both doors, rear bumper and body wheel arch trims (which were also repaired and painted).
Although not a “show winner" significantly improved and no more rusty panels.
Full re-spray maybe in a few years time.
